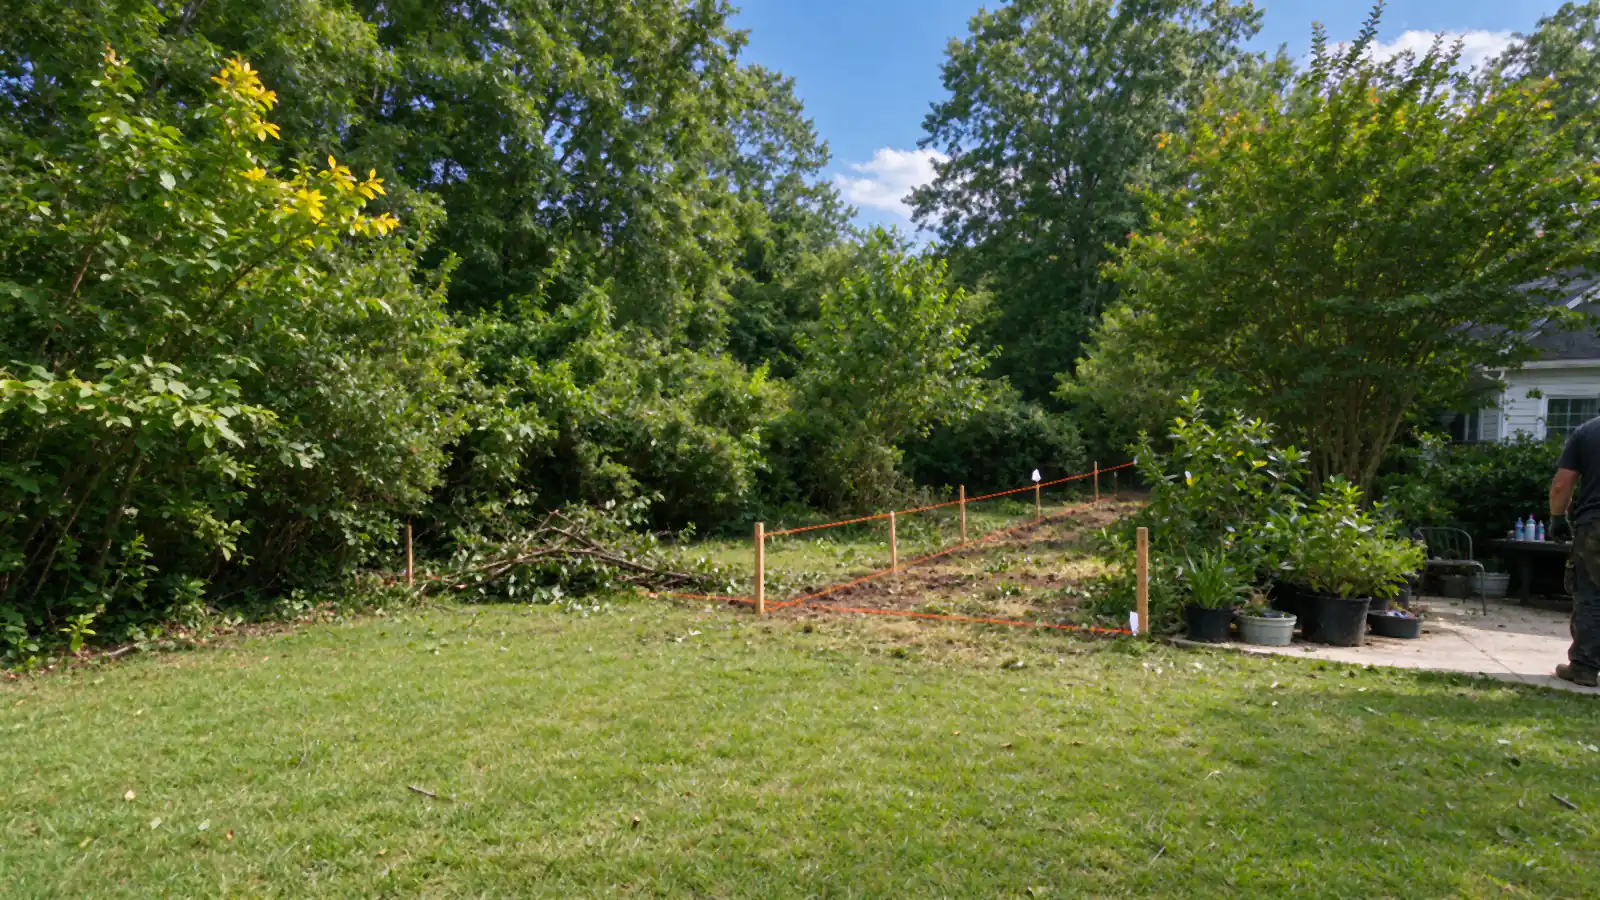
Most delays on install day trace back to something in the yard that nobody mentioned: a sprinkler line under the post spot, a dog in the yard, a woodpile across the line or a gate width that was never decided. A few hours of preparation in the week before keeps the crew digging instead of waiting.
Upright Johns Creek Fencing handles permits, the 811 request and the build itself for fence installation across north Fulton. This checklist covers the parts only the homeowner can do.
Weeks before: paperwork
- Find your plat. The recorded lot survey shows lines, easements and setbacks. It is usually in your closing papers, and it is the base for the site plan. If corners are uncertain, the survey guide explains when to call a surveyor.
- Start HOA review. Architectural committees meet on their own schedules; the HOA approval guide covers what they want.
- Let the permit run. Johns Creek requires a fence permit for new and replacement fences. The permit guide explains the steps.
The week before: find what is underground
Georgia 811 marks utility-owned lines. It does not mark anything installed on your side of the meter. Walk the yard and note or flag:
- Irrigation lines and sprinkler heads near the fence line.
- Landscape and pool lighting wires.
- Invisible dog fence wire.
- Power, gas or water run to a shed, workshop or pool equipment.
- Septic lines, on lots that have them.
If you are not sure where they run, an irrigation contractor or private locator can trace them. The 811 guide explains what the public locate covers.
Clear the line
The crew needs a clear strip on both sides of the fence line to dig, set posts and carry rails and boards. Move:
- Woodpiles, compost bins, play sets and stored items.
- Planters, pots and garden decor.
- Plants you want to keep, transplanted a few feet away.
- Vehicles and trailers that block access to the backyard.
Overhanging limbs that would rub the fence can be trimmed now. Leave large tree work to an arborist.
Make room to get in
Fence materials come in long bundles. A crew needs a route from the driveway to the backyard: an open side yard, a removable section of an old fence, or a gate wide enough to carry rails and posts. If there is no such route, mention it before install day so the plan accounts for it.
Old fence
If an old fence is coming out, the estimate should say who removes it and where it goes. Anything attached to it, such as lights, planters, hoses or signs, should come off beforehand. The fence replacement page covers tear-out.
Decide the details now
- Gate locations and widths. Think about the mower, wheelbarrow and trash cans, not just people.
- Which way gates swing. Usually into the yard, away from slopes.
- The finished side. Johns Creek’s zoning code calls for the finished side to face out along property lines (confirm with the city); the finished side guide explains why.
- Height on slopes. Racked or stepped; the slope guide explains both.
Pets and children
Keep dogs inside or in a secure area while the crew works, because sections of the yard will be open. Post holes are a hazard until posts are set, so keep children away from the work area. After the fence is built, check the gate latches before letting a dog out alone.
Talk to your neighbors
A short heads-up to neighbors on shared lines avoids surprises. Crews may need to stand on the neighbor’s side to fasten boards, and paint marks and flags from the 811 locate may appear in their yard.
On install day
Be home at the start, if you can, to confirm the line, the gate spots and the private utilities. Be home again at the end to walk the fence, test the gates and ask questions. Concrete keeps curing after the crew leaves, so avoid hanging anything heavy on the fence right away.
After installation
New pressure-treated pine needs to dry before it is stained. The new fence staining guide covers timing. Questions about a specific yard can go to the number at the top of the page or the form below.